What you’ll need
To make approximately 2.5m of bunting:
- 1/4m each in 3 different quilting weight fabrics. A fat or long quarter will do.
- 3m cotton webbing tape or bias binding, 2.5cm wide, in a coordinating colour.
- Templates provided.
- Rotary cutter and cutting board, useful but not essential.
- Standard sewing kit.
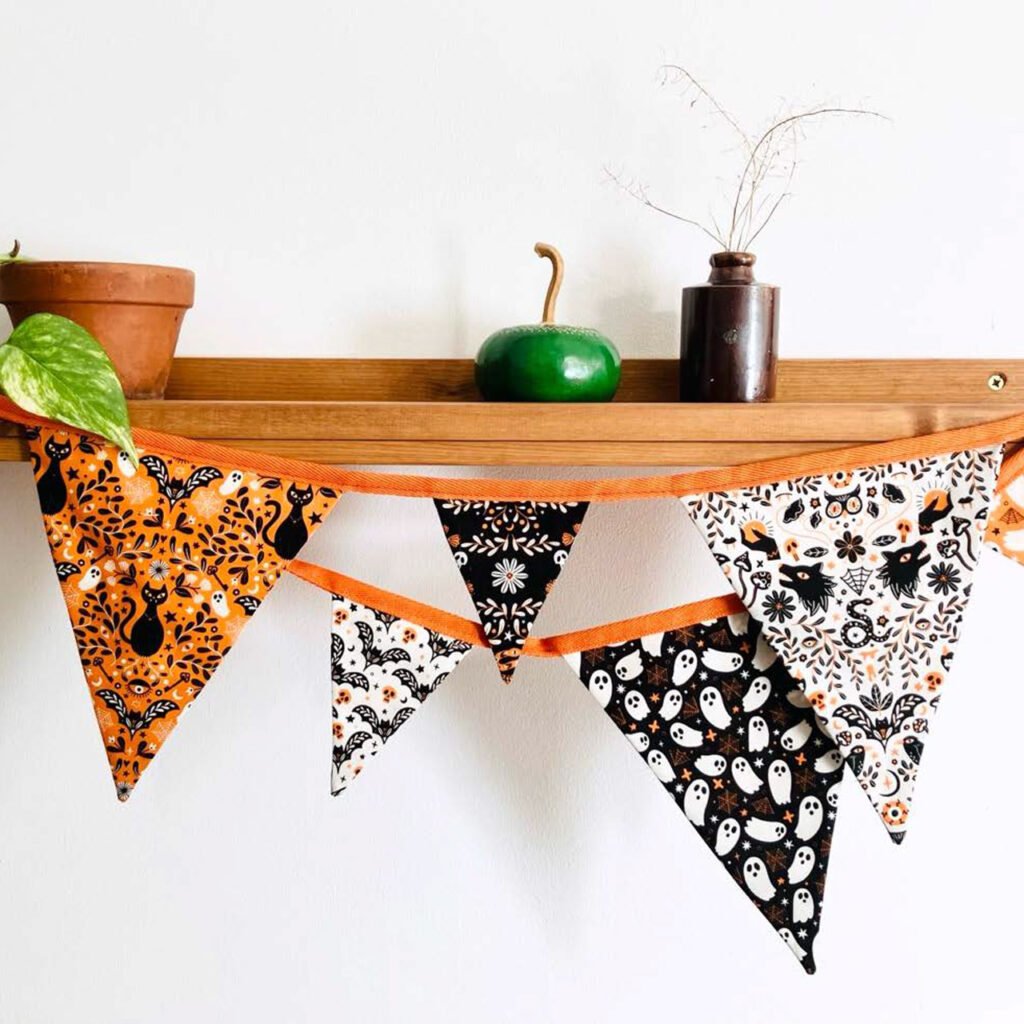
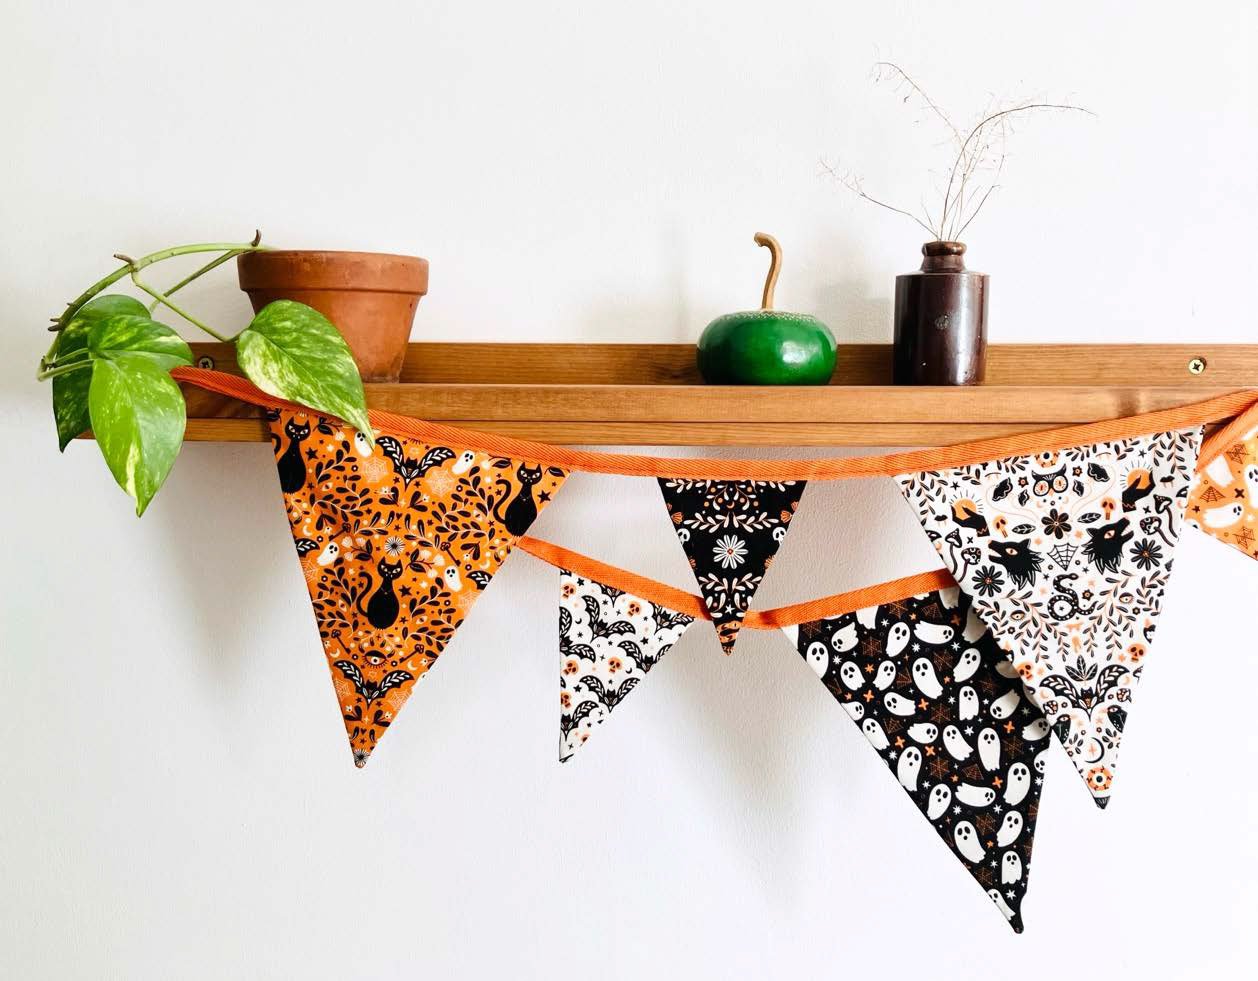
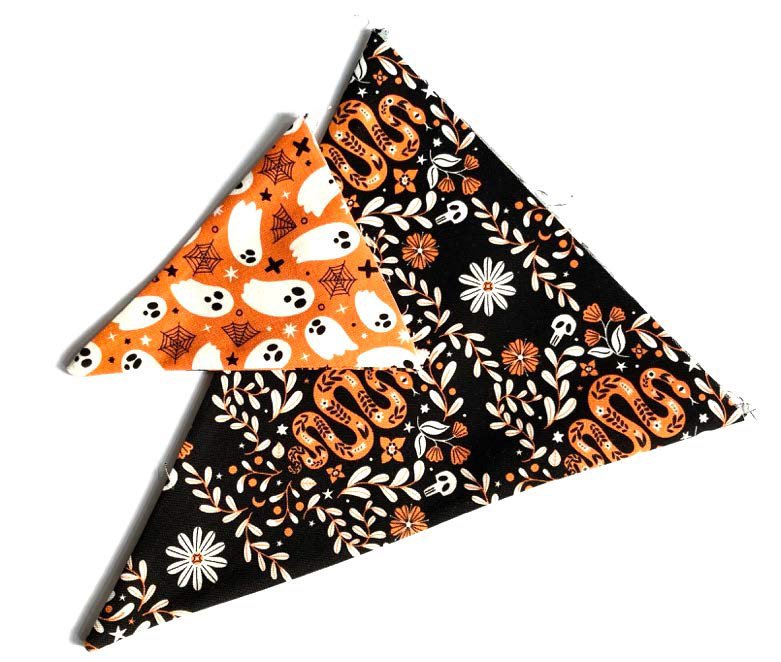
I’ve made two sets using different fabrics from the Moonlight & Magic collection by Anna Deegan.
Let’s get making!
- Print out the templates and cut out one of each.
-
Lay out one of your fabrics, making sure the pattern is the right way up, and fold it right-sides in from left to right. Lay out your larger template on your fabric, with the narrower edge at the top. Draw around it with tailor’s chalk. Lay it out again and draw around it again.
Repeat with your smaller template, also twice. Cut out your triangles. A rotary cutter and cutting board is handy for this, but scissors are fine too.
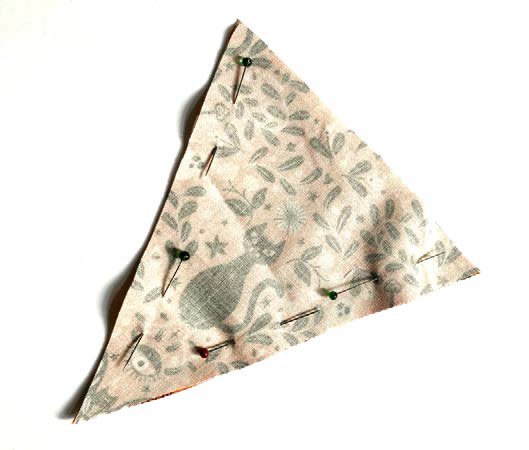
Pin each of your pairs together, keeping them right sides in.Note: If you are using a fabric where you want to get very particular parts of the pattern on each pennant, you may want to place and cut each triangle separately and pair up later. I did this with the Fang-Tastic, Wolf-Dawn and Serpent fabrics, but not for the Ghosts and Bats.
- Repeat step 2 with each of your fabrics, making 6 large pairs and 6 small pairs.
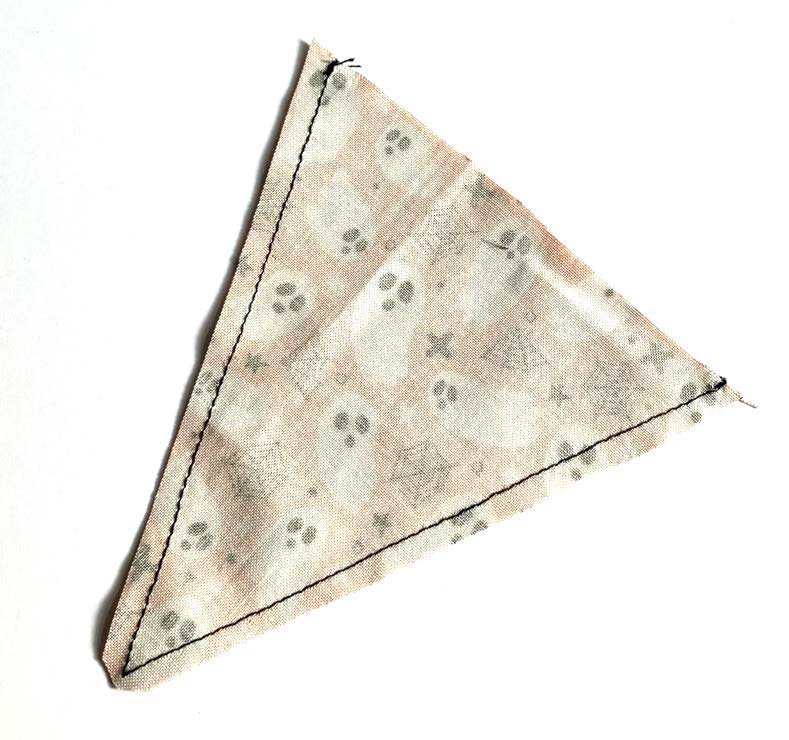
- Sew along the side, longer edges of each pair with a 1cm seam allowance, leaving the top edge open.
-
Trim the seam allowance to roughly 3mm and trim close to the point at the bottom.

- Turn your shapes right-way-out and give them a good press. Snip away any little triangles of seam allowance that poke out of the top edges.
- Lay out your finished shapes in a row so that your patterns and sizes alternate.
-
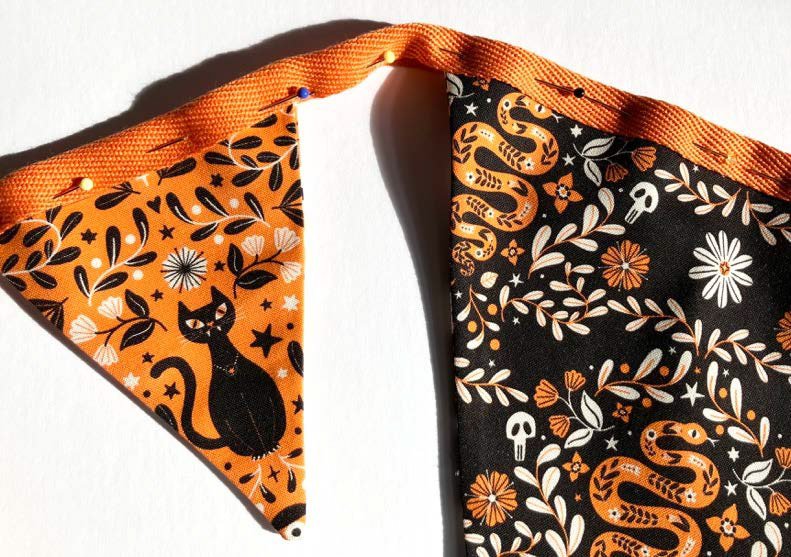
Take your length of webbing tape and fold one end over by 1cm, then begin to fold it in half so that the long edges meet, pinning in place. Do this for 20cm, then sandwich the top, open edge of one of your pennants between the webbing, pinning in place.
Continue to do this with each pennant, in the order you laid them out, leaving a roughly 5cm gap between each pennant.
- Once all your pennants are in place, pin another 21cm of empty webbing tape, trim away any excess, and fold the end in by 1cm, as you did at the other end.
- Sew all the way along your webbing tape, roughly 2mm from its open edge.
- At each end of your bunting, fold by 3 to 4cm to make a small loop. Sew these loops in place and use them to hang your bunting up.
Happy Halloween!