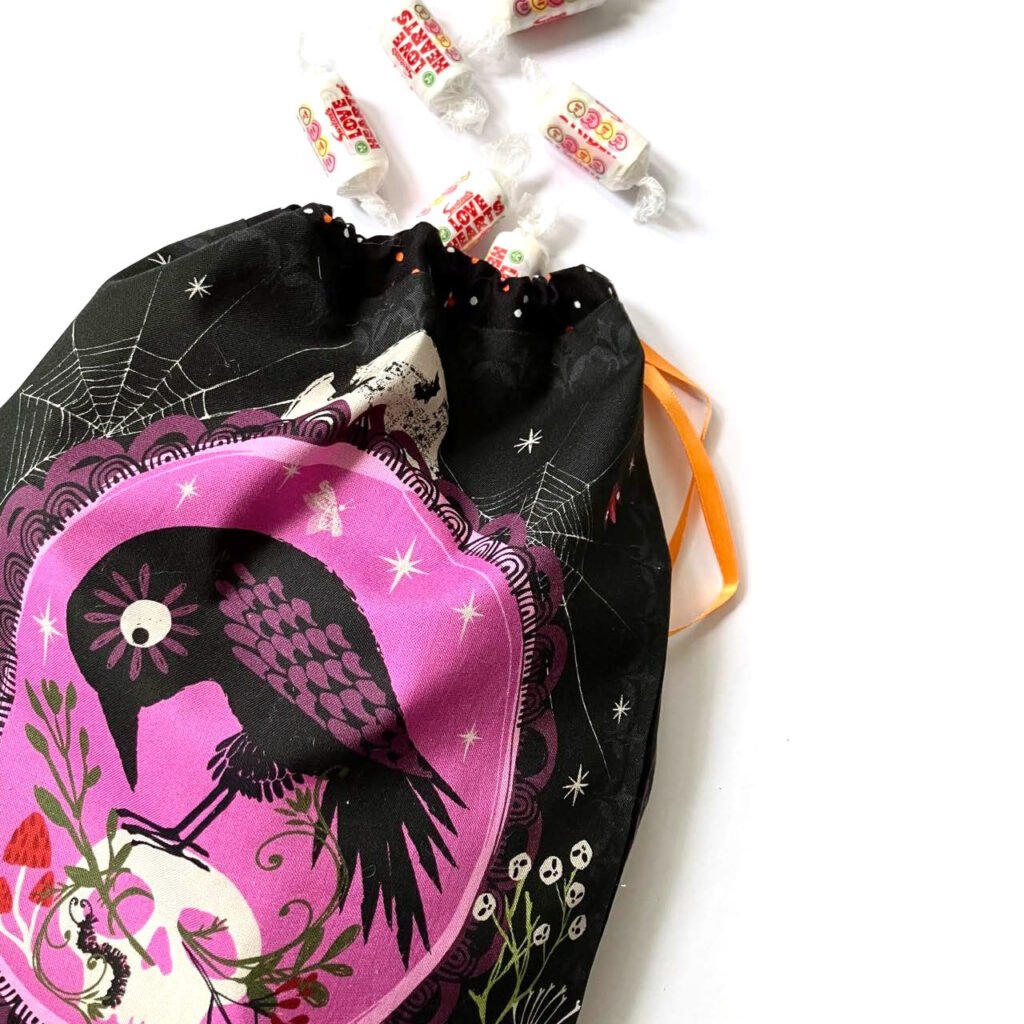
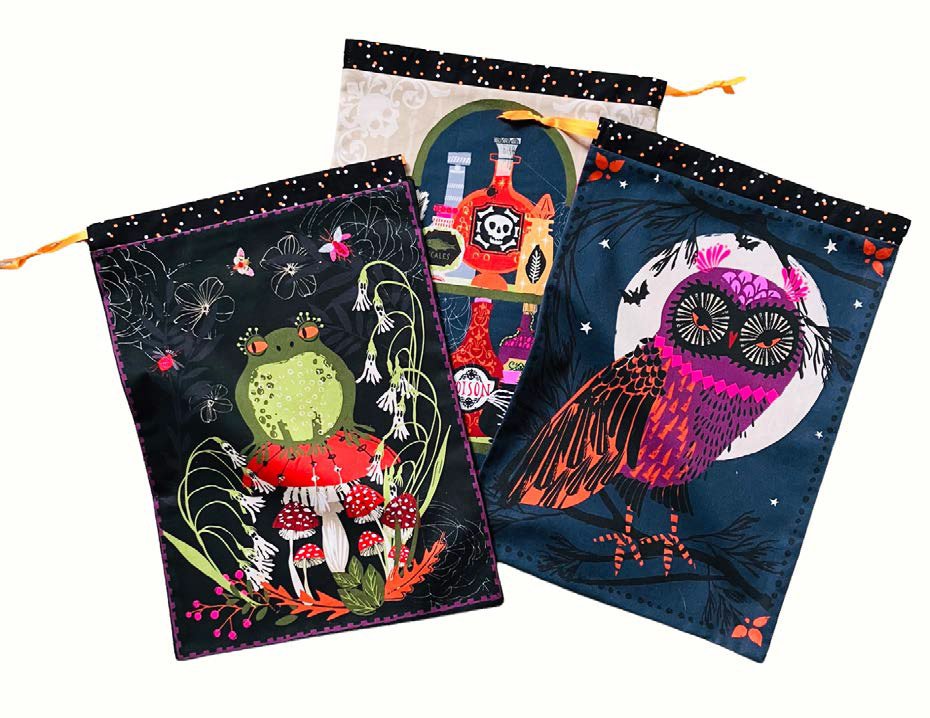
What you’ll need to make 4 medium sacks
Each sack will end up roughly 36cm high x 25cm wide.
- One Hocus Pocus Panel from the Hocus Pocus collection by Helen Black
- 1/4m of Confetti – Raven from the same collection
- 3m satin ribbon, 6mm wide
- Standard sewing kit
Let’s get making!
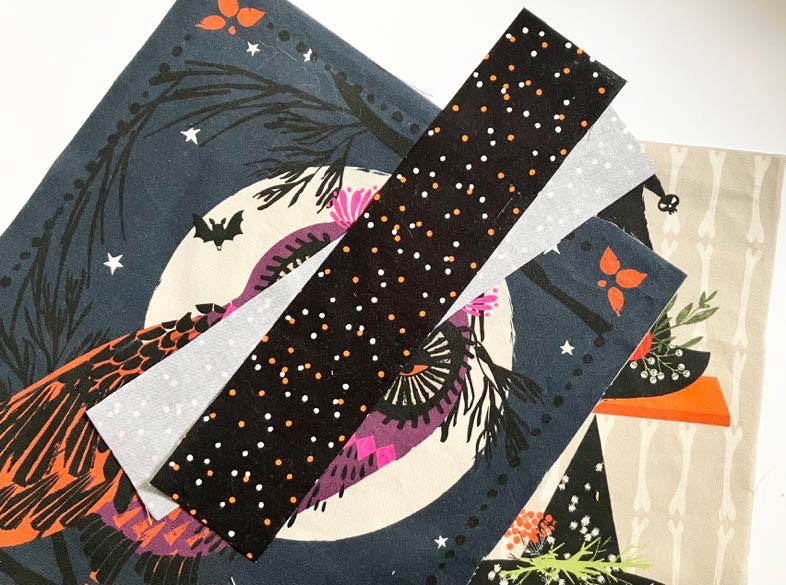
- Start by cutting out each of the 8 individual rectangles from the Hocus Pocus panel. Decide which designs you would like to match up, as each sack will have a different design on the front and back.
-
Also cut 8 strips of your other fabric, each 6cm high x 28cm wide.

-
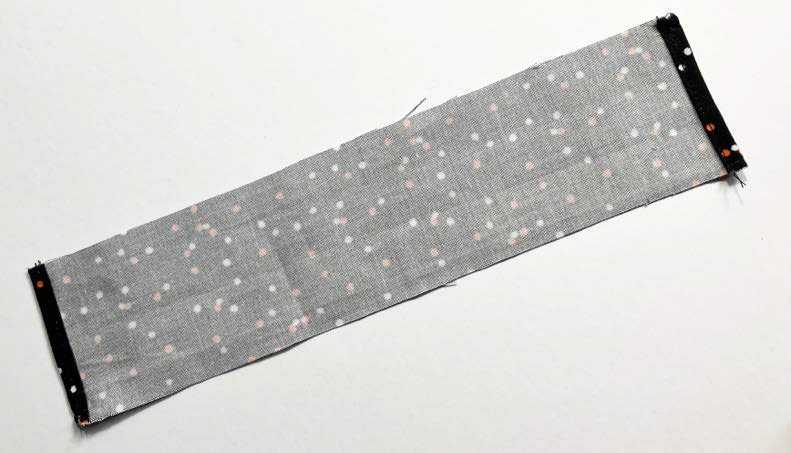
Lay out one of your small strips, right-side down, and fold both narrower edges in by 5mm, then 5mm again, pinning in place. Sew along those edges. This will form the neat ends of your drawstring channels. Repeat with each strip.

- Fold each of your strips in half so that the longer edges meet, fabric right-side out, press to crease.
-
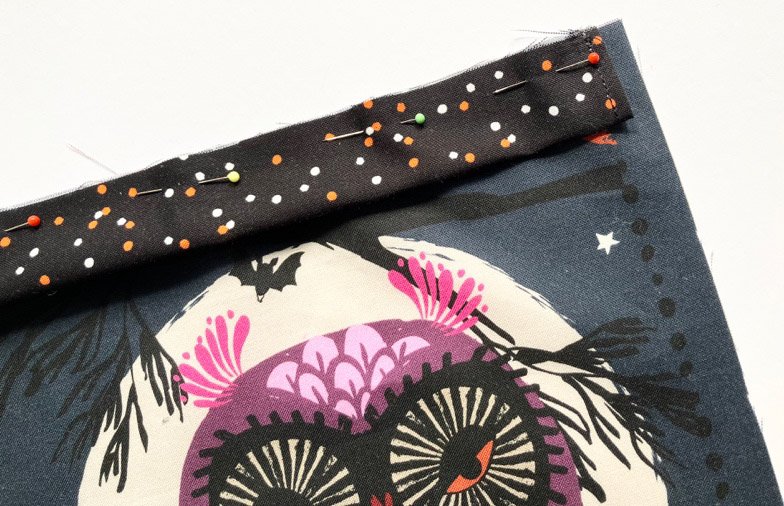
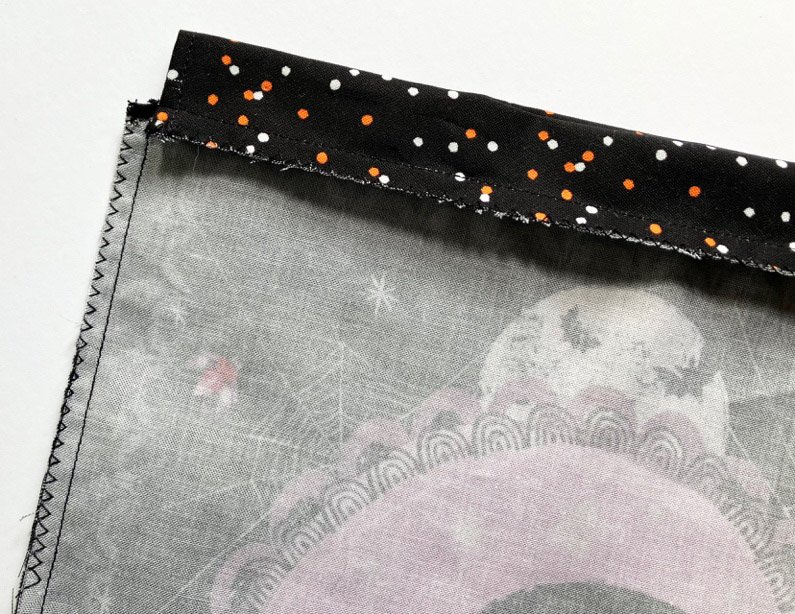
Lay out one of your large rectangles, face-up. Lay one of your folded strips along the top edge so that its open edge lines up with the top edge of the rectangle and it is equidistant from the left and right edges. There should be a small gap at each side. Sew along the top, open edge of your strip, 5mm in. Oversew the raw edge with a zigzag stitch to prevent fraying. Repeat with the other rectangle you have chosen for this sack.

-
Open out and press so that the drawstring channels now sit above the top edge of each rectangle. Lay out one of your panels face-up and lay the other on top, face-down, so that the patterned sides are face-to-face and the drawstring channels are at the top. Pin along the side and bottom edges only and sew with a 5mm seam allowance. Oversew with a zigzag stitch to prevent fraying.

- Turn your sack right way out. Repeat steps 5 and 6 for your remaining sacks.
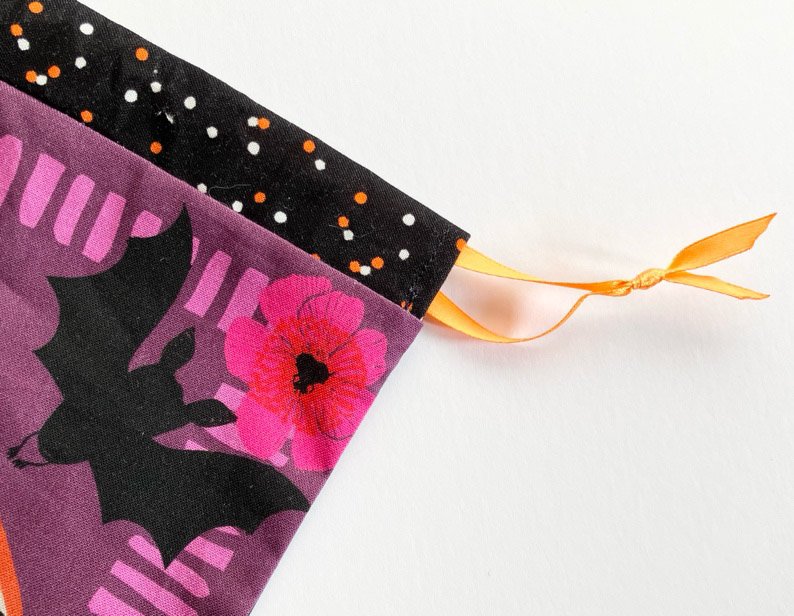
- Now all we need to do is add the drawstring ribbons. Cut a 75cm length of ribbon. Pin a safety pin to one end and use this to help you thread the ribbon through one of the channels at the top of your sack, then back through the channel on the other side. Remove the safety pin and tie the ends of the ribbon in a knot, a few centimetres from the edge of your bag.
-
Trim any excess ribbon away at a diagonal angle and, to prevent fraying, heat seal the ends of your ribbons using a candle flame or lighter. If you’ve not done this before, look up a demonstration of how to do this safely. Repeat steps 8 and 9 for each of your sacks. Pull on the tied end of your ribbon to close the sack.

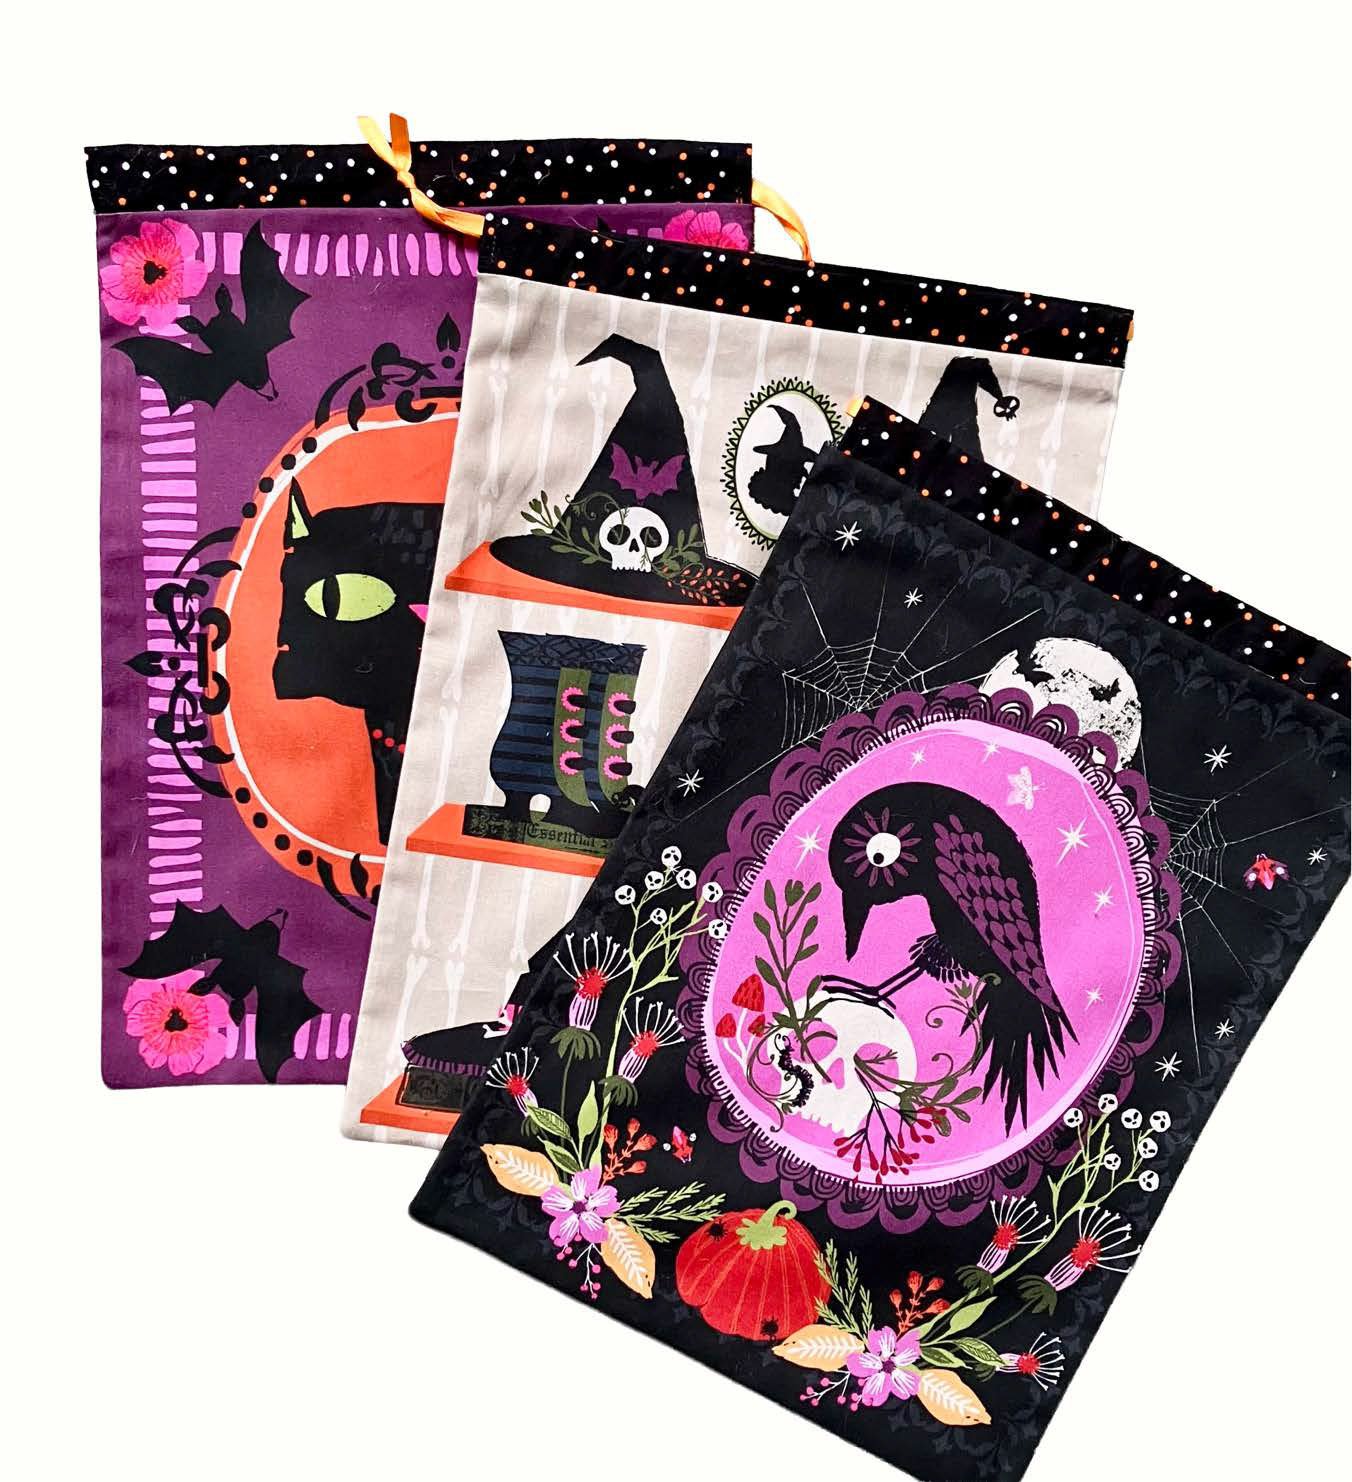
Happy Halloween!